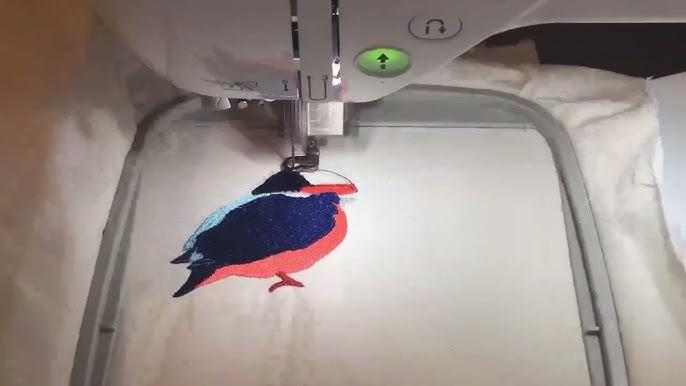
How to Master Custom Digitizing for Flawless Embroidery Results

Introduction
You've seen those perfect embroidered designs - the ones with crisp edges, smooth fills, and details so precise they look printed. What's the secret? Master-level custom digitizing.
Unlike auto-digitizing that often produces mediocre results, custom digitizing gives you complete control over every stitch. After digitizing over 5,000 designs for clients worldwide, I've discovered the techniques that separate amateur attempts from professional-quality embroidery.
This guide will teach you:
✔ The 4 essential stitch types and when to use each
✔ How to control density for different fabrics
✔ Professional underlay strategies
✔ Advanced pull compensation techniques
✔ Common mistakes and how to fix them
The Fundamentals of Custom Digitizing
1. Understanding Stitch Types
| Stitch Type | Best For | Recommended Settings |
|---|---|---|
| Satin | Outlines, lettering | 0.6-1.2mm width |
| Fill | Large areas | 0.3-0.5mm density |
| Running | Fine details | 1.5-2.5mm length |
| Cross | Decorative effects | Varies by design |
Pro Tip: Mix stitch types in the same design for visual interest and better fabric handling.
2. Fabric Matters: Density Guidelines
-
Jersey/Knit: 0.35mm (looser density)
-
Denim: 0.45mm (medium density)
-
Canvas: 0.5mm (tighter density)
-
Towels: 0.4mm with extra underlay
3. The Magic of Underlay
Proper underlay prevents:
✔ Fabric puckering
✔ Design distortion
✔ Thread show-through
Best Underlay Combinations:
-
Zigzag + Edge Run (for satin stitches)
-
Parallel + Crosshatch (for large fills)
-
Contour + Center Run (for curved elements)
Advanced Custom Digitizing Techniques
1. Pull Compensation Mastery
-
Basic Rule: Add 0.1mm compensation for every 1mm of stitch length
-
Fabric Adjustments:
-
Add 15% more for stretchy fabrics
-
Reduce 10% for rigid materials
-
2. Stitch Direction Strategies
-
45° Angles: Most versatile for fills
-
Radial Patterns: Perfect for circular designs
-
Contour Following: Best for organic shapes
3. Layering for Dimension
Build realistic depth by:
-
Base layer (dense fill)
-
Mid layer (satin outlines)
-
Top layer (decorative stitches)
Step-by-Step Custom Digitizing Process
1. Design Analysis
-
Identify critical detail areas
-
Note potential problem spots
-
Plan stitch sequence
2. Manual Tracing
-
Use Bézier curves for smooth outlines
-
Assign appropriate stitch types
-
Set proper entry/exit points
3. Stitch Optimization
-
Balance density across design
-
Minimize jumps and trims
-
Adjust for fabric characteristics
4. Quality Testing
-
Run virtual simulation
-
Stitch sample on scrap fabric
-
Make micro-adjustments
Common Mistakes & Fixes
| Problem | Cause | Solution |
|---|---|---|
| Puckering | Insufficient underlay | Add zigzag underlayer |
| Gaps | Poor pull compensation | Increase by 0.1mm increments |
| Thread breaks | Excessive density | Reduce by 10% |
| Distortion | Wrong stitch direction | Change to 45° or radial |
Software-Specific Tips
Wilcom Users:
-
Enable "Stitch Sculptor" for variable density
-
Use "Smart Sequence" for efficient paths
Hatch Embroidery:
-
Apply "Dynamic Pull Compensation"
-
Utilize "Stitch Refiner" for clean edges
Brother PE-Design:
-
Activate "Auto Split" for large designs
-
Use "Stitch Simulator" to preview
Pro Tips for Perfect Results
-
Start Simple
Master basic designs before complex artwork -
Test Religiously
Always stitch samples before final production -
Document Settings
Keep a log of what works for each fabric type -
Sharpen Your Eyes
Regularly inspect stitches under magnification
Conclusion
Mastering custom digitizing transforms your embroidery from "homemade" to "high-end." Remember:
✔ Great digitizing starts with proper stitch selection
✔ Density and underlay make or break your design
✔ Pull compensation is your secret weapon
✔ Testing prevents expensive mistakes
With these techniques, you'll create embroidery that impresses clients and stands up to commercial standards.
Final Tip: Build a "swatch library" of your digitized samples with notes on settings - it's the fastest way to improve your skills!
- Art
- Causes
- Crafts
- Dance
- Drinks
- Film
- Fitness
- Food
- Juegos
- Gardening
- Health
- Home
- Literature
- Music
- Networking
- Other
- Party
- Religion
- Shopping
- Sports
- Theater
- Wellness
